Hey there, DIY enthusiasts and home makeover aficionados! Are you ready to give your space a fresh new look that’ll leave your friends wondering if you hired a professional painter? Look no further – we’ve got you covered with this comprehensive guide on how to paint a room like a pro. From selecting the perfect color to nailing those clean lines, we’ve got all the tips and tricks you need to make your room-painting project a resounding success.
Step 1: Choose Your Perfect Palette
Before you start slapping on paint, take a moment to consider the vibe you want for your room. Pinterest-worthy spaces often begin with a cohesive color palette. Browse Pinterest and Google for inspiration, pinning or saving your favorite color schemes for reference. Consider the room’s purpose and existing décor when picking your shades. Remember, your color choices will set the tone for the entire space!
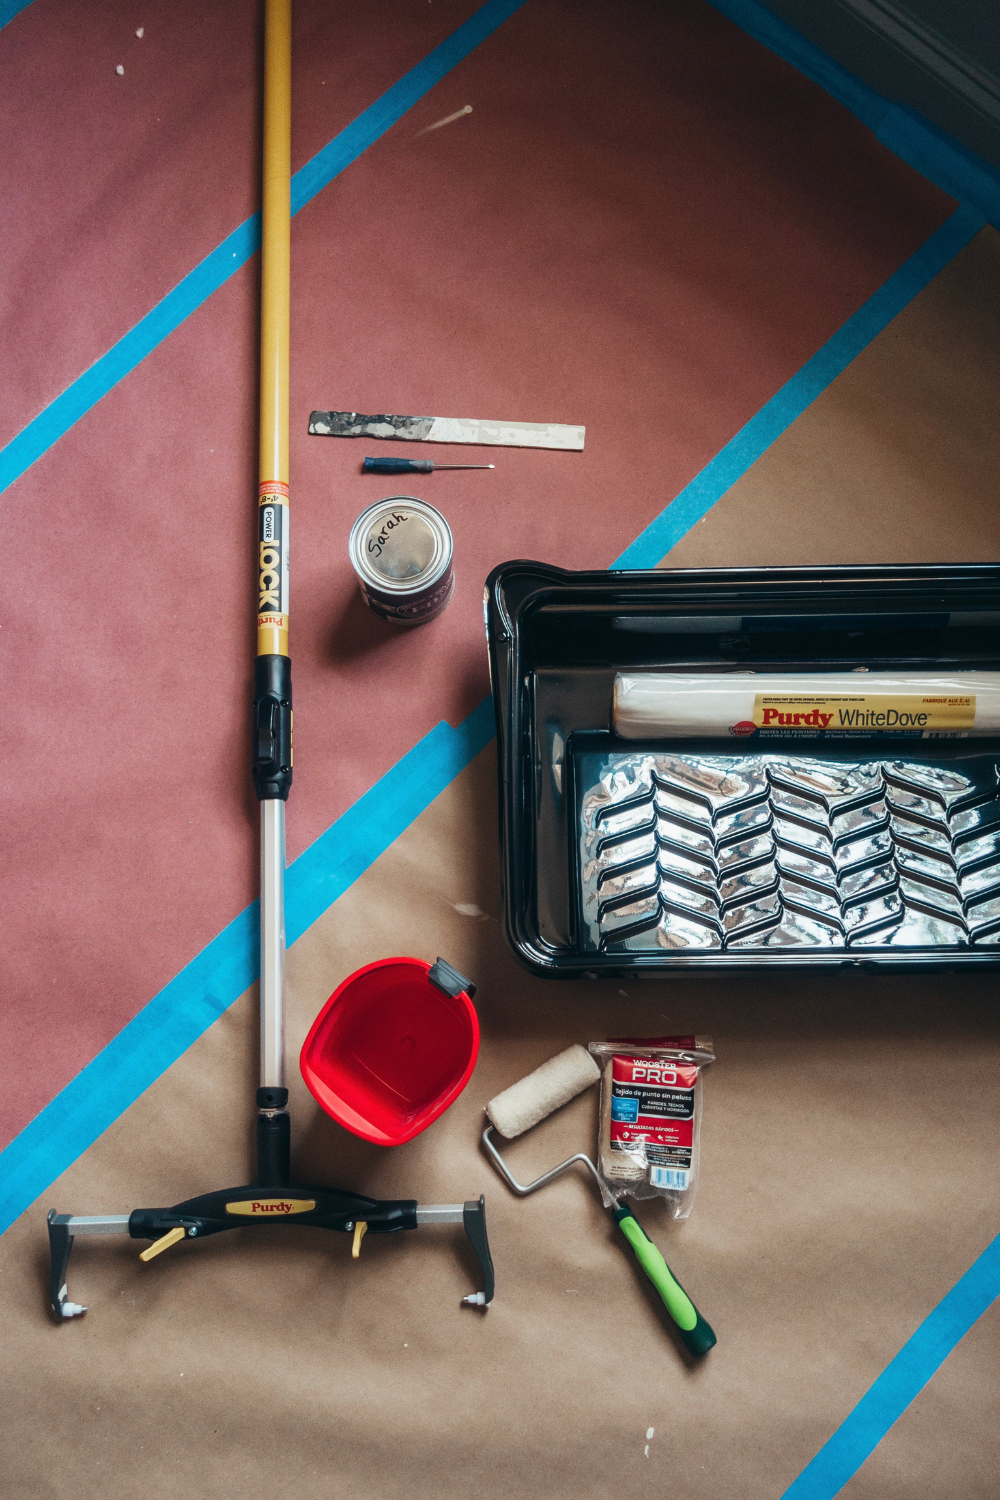
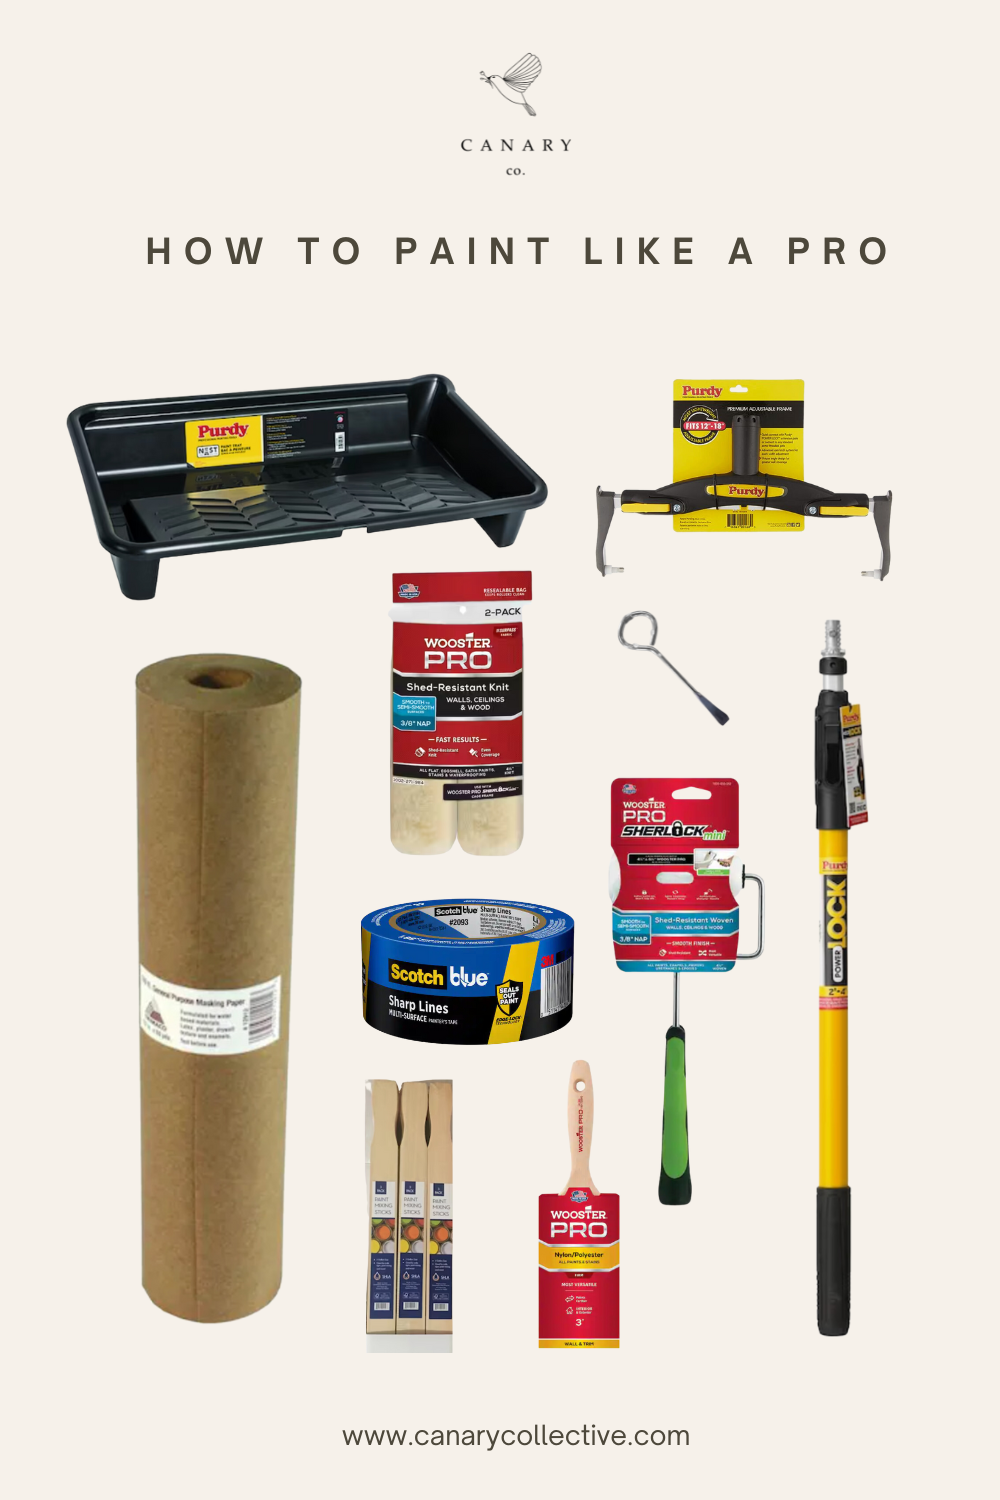
Step 2: Gather Your Painting Supplies
To paint like a pro, you’ll need to arm yourself with the right tools. Linking the exact items I used below. Your shopping list should include:
- High-quality paint in your chosen colors. Absolutely love this high quality primer
- Paint rollers and brushes of various sizes — read this article to see which are best for your project
- Painter’s tape for clean lines
- Drop cloths or paper to protect floors and furniture
- A paint tray and liners for easy cleanup
- Sandpaper for smoothing rough surfaces
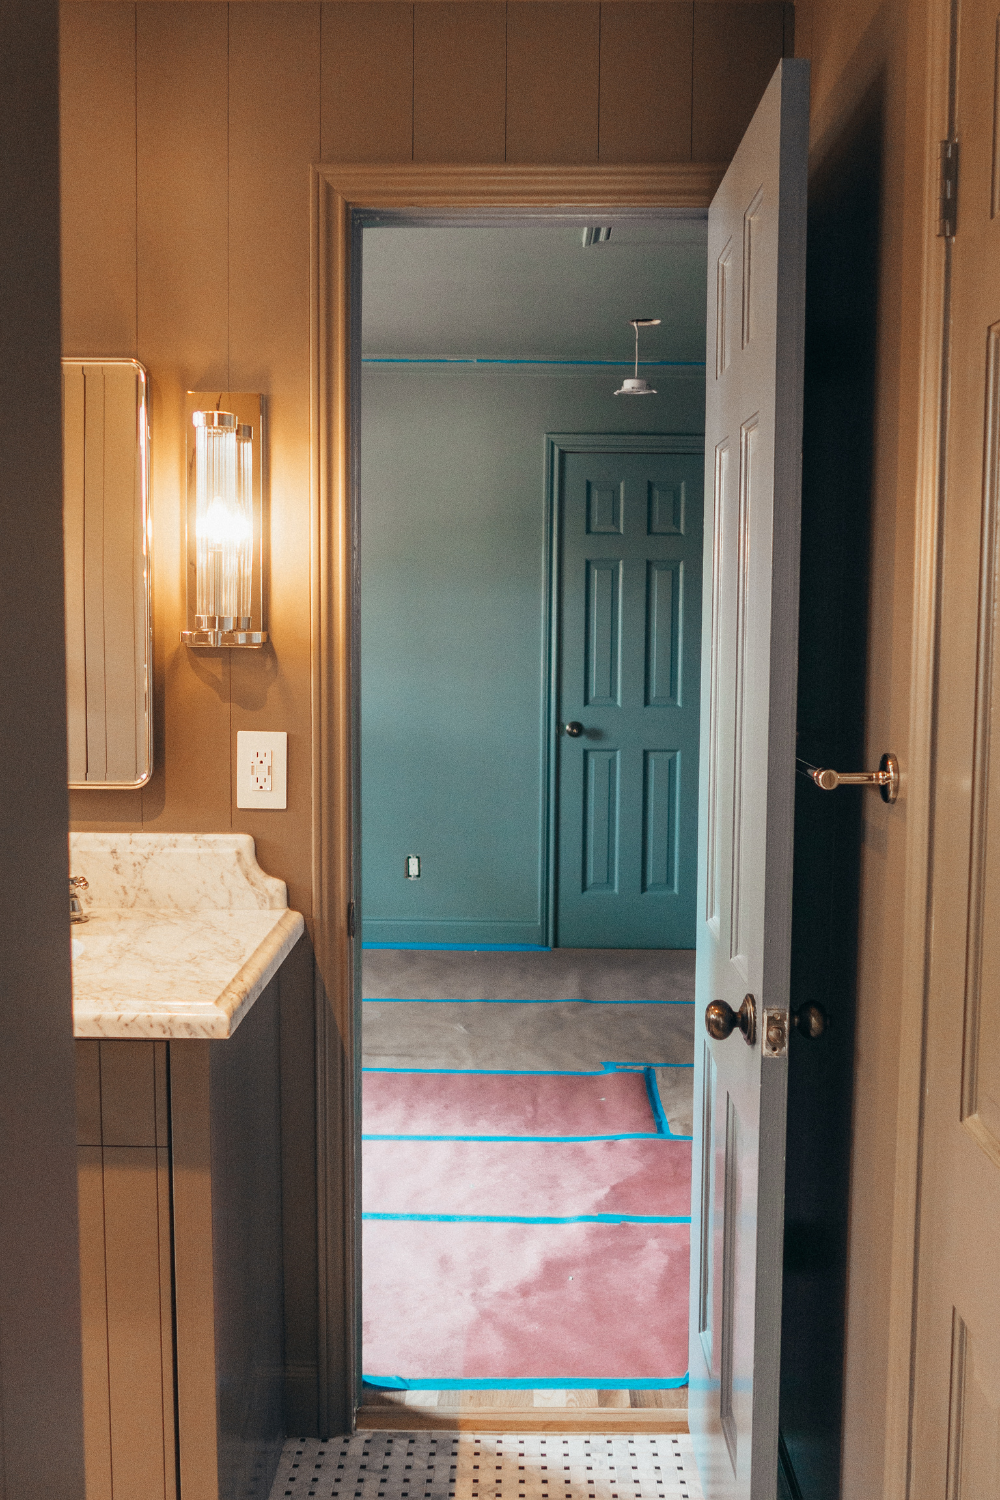
Step 3: Prep Like a Pro
Now, let’s get your room ready for its makeover:
- Clear the room of furniture and decorations, or move them to the center and cover with drop cloths.
- Fill in any holes or cracks in the walls with spackling paste and sand them smooth.
- Sand any uneven surfaces to ensure a smooth paint application.
- Clean the walls to remove dust and grease, allowing the paint to adhere better.
Step 4: Tape for Perfection
One of the secrets to a professional-looking paint job is clean, crisp lines. Use painter’s tape to mask off areas you don’t want to paint, such as trims, baseboards, and windows. Press the edges firmly to prevent paint from seeping underneath.
Step 5: Prime if Needed
If you’re painting over a darker color or a highly textured surface, consider using a primer. It will help your new paint color appear more vibrant and even. Check out Pinterest for primer recommendations that work best for your specific situation.
Step 6: Paint Like a Pro
It’s finally time to add some color to your walls! Follow these tips for a flawless application:
- Start with cutting in: Use a smaller brush to paint along the edges and corners with your chosen color. This will create a neat border for your roller to follow.
- Roll it out: Load your roller evenly and apply the paint in a “W” or “M” pattern for even coverage. Work in sections, overlapping slightly to avoid visible lines.
- Keep it consistent: Maintain a consistent pressure on the roller to ensure an even coat. Don’t press too hard or too lightly.
- Watch for drips: Check for drips or runs as you go and smooth them out before they dry.
- Be patient: Allow the first coat to dry completely before applying a second one. This will help achieve a rich, even color.
Step 7: Remove the Tape
Once the paint is dry to the touch (but not fully cured), carefully remove the painter’s tape at a 45-degree angle to avoid peeling the paint. Admire those clean lines – you did it like a pro!
Step 8: Finishing Touches
After the paint is fully dry, it’s time to move your furniture back in and put the finishing touches on your revamped space. Decorate with items that complement your new color scheme and give your room a cohesive, polished look.
And there you have it – a freshly painted room that’s sure to make you feel like a DIY pro! Remember, practice makes perfect, so don’t be afraid to experiment and learn from each project. Happy painting, and may your home always be filled with vibrant colors and creative energy!
So, are you ready to transform your space into a Pinterest-worthy haven? Get your painting supplies ready, choose your colors, and let your inner pro painter shine!